


Experiencing 100% disk usage on Windows 10 can lead to slow system performance and unresponsiveness. There are several potential causes for this issue, and you may need to try a combination of solutions to resolve it. Here are some steps you can take:
Ways to Fix a 100% Disk Usage on Windows 10
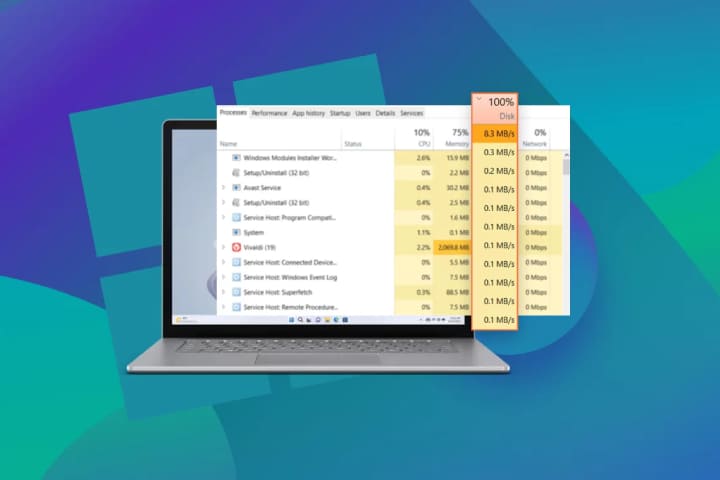
Check Task Manager
Some people see that the disk usage is 100% in the Task Manager under the Performance and Process tab. So, you need to check the Task Manager. To do this, open the Task Manager by Pressing Ctrl + Shift + Esc. Then, go to the Processes tab and check the process using the most disk resources.
Update Windows and Drivers
Update Windows and your device drivers. Updating to the latest version resolves many problems with Windows 10. To do so, go to the update and security option in the Windows Settings app. It will also improve performance.
Here is All About RAM Type DDR3 & DDR4 For Windows 10
Disable the SuperFetch Services
Windows Superfetch sometimes creates the problem. Disable it temporarily in this way:
Press Win + R to open the Run dialog and type services. msc, and press Enter. Find “Superfetch” in the list, right-click, and select the “Properties.” Change the startup type to “Disabled” and click “OK.”
Disable Windows Search
Disable the Windows search to check the error because a bug in Windows 8 and 10 can cause a search loop, and it can show high disk usage. So disable Windows search in this way.
Press the Win + X and select Computer Management. Now go to Services and Applications > Services. Find the Windows Search” in the list, right-click, and select Properties. Change the startup to Disabled and click OK.
Check out the Malware
A malware-infected system can show the error. To check for Malware, Run a complete system antivirus scan to check for malware or viruses that can cause excessive disk usage.
Remove some startup apps
Some third-party applications may cause high disk usage. Identify and uninstall or turn off any unnecessary or suspicious programs. Remove the startup apps in Windows 10 or 11
Go to Settings from the Start menu. Click on Apps and choose Startup from the left-hand menu. Remove or disable unnecessary startup programs.
Adjust Virtual Memory
This error can occur because virtual memory uses the disk as RAM. It uses it to swap out the files when it runs out of real RAM. So, Adjust Virtual Memory FIrst by pressing Win + X and selecting “System. Then click on Advanced System Settings on the left. Under the Advanced tab, under the performance section, click Settings. In a new Window, open the Advanced tab and click Change under the Virtual Memory section. For all drivers, Uncheck Automatically manages paging file size. Set a custom size for the paging file.
Check for Disk Errors
If the hard drive has an issue, run a disk check. Setup or software problems often show high disk usage. To resolve the error, Open a Command Prompt as an Administrator. Type chkdsk /f and press Enter. Then restart it; it will check and fix disk errors.
Disable Device Drivers Temporarily
You need to check for updates for storage controller drivers. Open Device Manager to do this. If they are not updated, update them to fix the disk usage error.
Closing Thoughts
Suppose you have applied all the tricks and are still facing the error. Then, you need to check the hardware problems or contact Microsoft support service.